
Creating your own extension cord is one of the best ways to reduce wasted product and to keep installations looking tidy and professional. Furthermore, our cable is flat 18-gauge wire that comes in 3 colours, making it easy to tuck away into crevices and camouflage with shrubbery and rooflines.
What You'll Need:
1. Cable

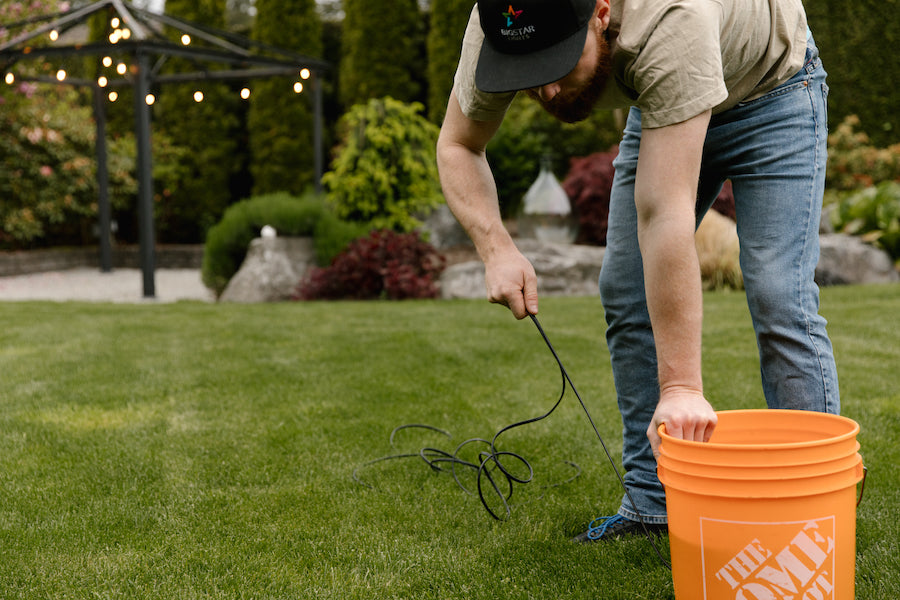
Choose the appropriate colour. Green and Black are perfect for running along the ground (camouflage!). Green is great for trees. White is perfect for lighter fascia on a house, including light grey. Our cable comes in 1000-foot spools, which are perfect for placing into a 5 gallon bucket with a handle. All you have to do is drill a hole in the bottom of the bucket to poke the cord out, keeping everything organized and untangled as you go.
2. Male and Female Plugs

All plugs come in 2 parts: the main piece that the cable fits into, and the cap that holds everything together, allowing the metal teeth to pierce the cable.
3. Wire Cutters

These are used to cut the wire as well as fit the cable into the plugs. The handle can also be used as a vice to slide the cap onto the plugs.
The Steps
Step 1: Look at the wire and identify which side is ribbed. This is an important step because we work with the "ribbed side right" rule. If this rule is not followed, your cable might not work properly, and you will be putting yourself at risk for a little zap!
Step 2: After you have identified which side is ribbed, use your clippers to SPLIT the two insulated wires. This split only needs to be a 1/4" long. *Pay very close attention so that you don’t cut through the insulation and expose the side of the wire. If this happens, simply snip off the damaged end and try again.
Step 3: Once you have split the end of the cable, pinch the plastic insulation about 3 inches down from the end of the wire and PULL and STRETCH the plastic back over the exposed ends as best you can so that there is no copper wire sticking out.
Step 4: With the ribbed side of the wire facing right, PUSH the treated end of the wire into the receptacle at the top/back of the plug. Inside this receptacle, you will see a tiny piece of plastic that is meant to separate the two insulated copper wires.
Step 5: Ensure the cable is pushed all the way in with the wire separated, and then proceed to ROLL your thumb firmly over the cable so that it connects with the two metal teeth inside the plug. The two teeth must puncture all the way through the insulation.
Step 6: Take the cap for the plug and SLIDE it over the top of the plug, making sure that you are putting it on the “open” side of the plug first. This is where the handles of the clippers come in handy. The ‘slide’ is more of ‘tight squeeze’, so the clippers are very helpful!
Now that you have done one side, measure out as much cable as you need, and do the same on the other end of the cable with the opposite plug. I.e. if you used a male first, put a female on the other end or vice versa.
And just like that, you’re done! By using these custom length extension cables, your installation will be looking slick, professional, and tidy in no time.
Watch our video to perfect the technique!